


当前不少网友都在使用Photoshop CC软件,而很多刚刚学习小伙伴不知道调节照片曝光度的操作,下面小编就为大家带来了Photoshop CC调节照片曝光度的操作方法哦。
Photoshop CC调节照片曝光度的操作过程

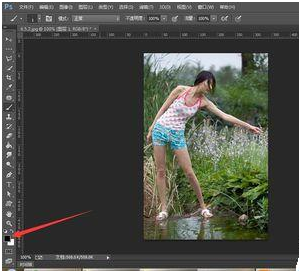
打开Photoshop CC软件。
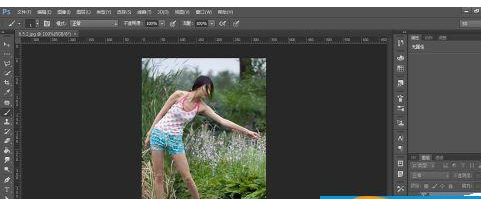
打开素材文件。
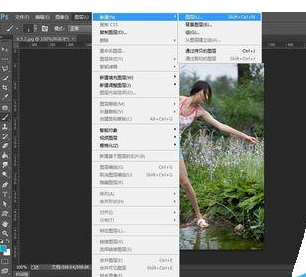
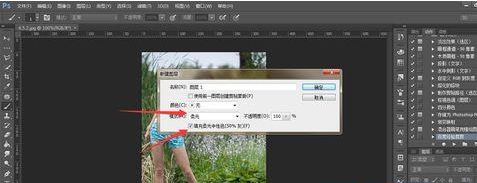
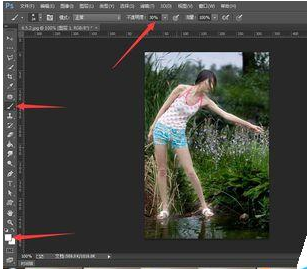
执行“图层>新建>图层”命令。在“模式”下拉菜单中选择“柔光”,勾选“填充柔光中性色”,创建一个柔光中性色图层。
将前景设置成黑色。选择一个柔角画笔工具,设置不透明度为30%,在人物后面的背景上进行涂抹。

将前景色切换成白色,在人物身体上涂抹,进行减淡处理。
单击“调整”面板中“曲线”调整图层。
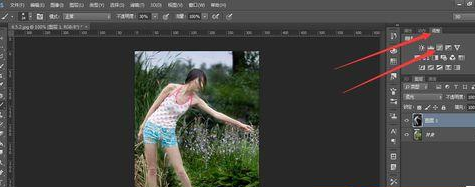
在曲线上添加两个控制点,拖动控制点。调节图片。
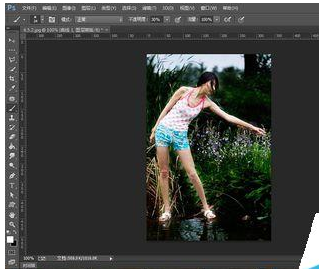
上文就讲解了Photoshop CC调节照片曝光度的操作过程,希望有需要的朋友都来学习哦。