


小伙伴们对ACDSee熟悉吗?知道ACDSee如何剪切文件吗?下文小编就带来了在ACDSee剪切文件的简单使用教程,一起来看看吧!
ACDSee剪切文件的具体操作教程

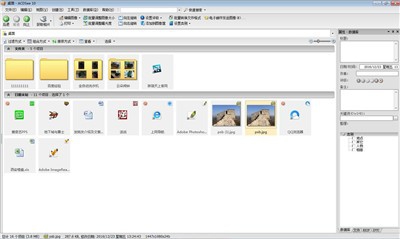
我们需要先打开ACDSee,进入主界面
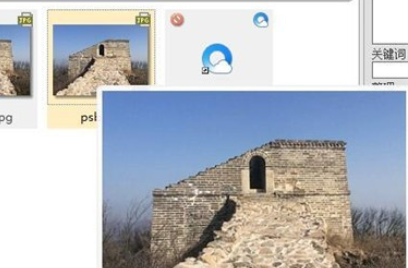
然后我们选中一张图片,双击打开
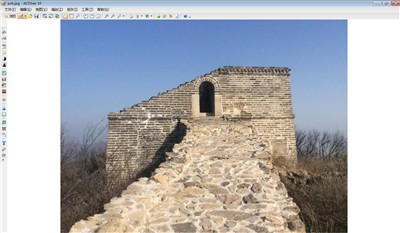
接着我们进入图片编辑窗口,如图所示
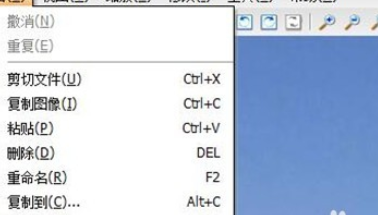
然后点击右上角的“编辑”
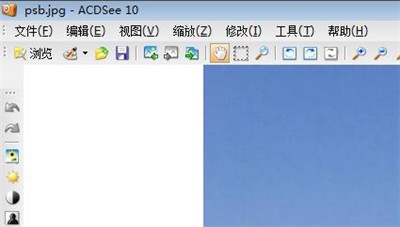
这时候我们在弹出的选项卡中,点击“文件剪切“
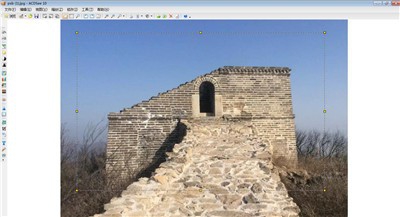
之后数遍放在图片的一个位置开始剪切

拉动剪切功能,规划处需要剪切的大致范围,跳动周围的方形点,可以精确调整剪切范围
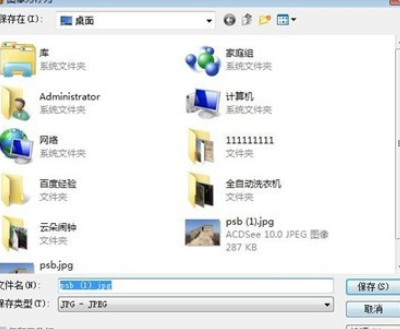
这时我们右键剪切范围,弹出的选项卡,点击”剪切区域另存为“
最后我们选择一个位置,保存成功即可
根据上文为你们讲述的ACDSee剪切文件的具体操作流程,你们是不是都学会啦!